Free No-Sew Amigurumi Duck Crochet Pattern
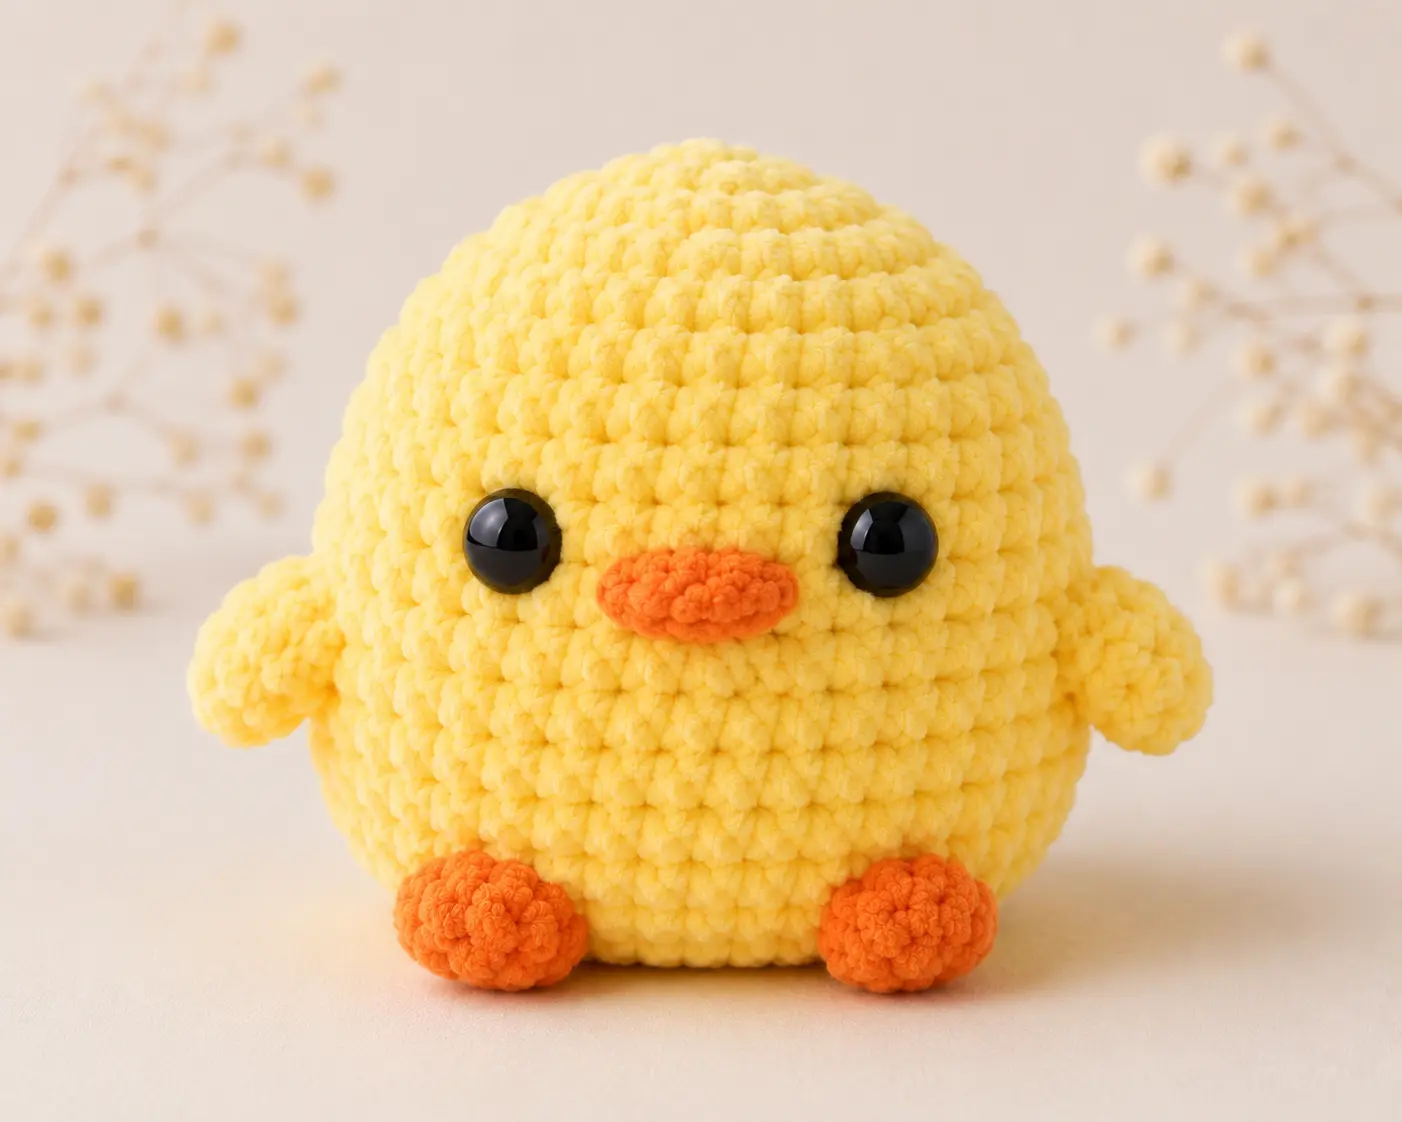
Body
Using Bright Yellow yarn.
Round 1
6 sc in MR. (6 sts)
Round 2
Inc in each stitch around. (12 sts)
Round 3
(Sc, inc) x 6. (18 sts)
Round 4
(2 sc, inc) x 6. (24 sts)
Round 5
Sc around. (24 sts)
Beak (No-Sew)
Round 6
Continue with Yellow until reaching the center front.
Change to Orange for the next 2 stitches.
Work:
- Hdc in next stitch.
- Hdc in next stitch.
Change back to Yellow immediately after the second hdc.
Finish the remainder of the round with sc.
(24 sts)
The two orange half double crochets create a small flat beak that blends seamlessly into the body.
Insert Safety Eyes
Place the 10 mm or 12 mm safety eyes between Rounds 5 and 6, positioning them approximately 5-6 stitches apart, centered above the beak.
Secure the washers before continuing.
Round 7
Sc around. (24 sts)
Begin stuffing the head and body.
Wings (No-Sew)
Round 8
Sc 5.
Wing
- Ch 3.
- Work 2 hdc into the second chain from the hook.
- Sl st into the next chain.
- Sl st into the same body stitch.
Sc 10.
Repeat the wing instructions once more.
Sc to end of round.
(24 sts)
Round 9
(2 sc, dec) x 6. (18 sts)
Stuff firmly.
Round 10
(Sc, dec) x 6. (12 sts)
Add more stuffing until the duck is evenly rounded.
Tail (No-Sew)
Round 11
Sc 5.
Create the tail:
- Ch 3.
- Work 2 hdc into the second chain from the hook.
- Sl st into the next chain.
- Sl st into the same body stitch.
Sc to end of round.
(12 sts)
Optional Feet Accent
If you'd like tiny orange feet, join Orange yarn to the underside of the body after finishing.
In two front stitches:
- Sl st.
- Ch 2.
- Sl st into the same stitch.
Repeat once more a few stitches away to create the second foot.
Fasten off and weave in the ends.
Round 12
Dec around. (6 sts)
Fasten off.
Thread the yarn through the remaining front loops, pull tightly closed, and weave the tail securely inside the body.
Finishing Touches
- Weave all yarn tails into the stuffing so they disappear completely.
- Gently shape the beak with your fingers so it lies flat and centered.
- Adjust both wings so they sit evenly on each side.
- Lightly pinch the tiny tail to give it a neat, symmetrical appearance.
- Massage the stuffing to create a smooth, round, chubby body.
- Double-check that the safety eyes are securely attached before gifting or selling your plush duck.
Your adorable no-sew plush duck is finished and ready for spring displays, Easter baskets, baby gifts, or your next successful craft fair!